Back in 2013 I was a bit of a workhorse. I put 100% of my energy toward helping clients realize ideas. I learned a lot about how to make videos quickly but I didn't have many ideas of my own. So I began making personal projects. One of the first was a short film for my wife on our 5th wedding anniversary.
The 5 years that followed kind of a wild mix of opportunities and changes and pain and growth. If you are interested in reading more, check out this Motionograpther article. Writing that and animating this have been a really cathartic experience. I'm incredibly grateful for the support of so many of you in this motion design business.
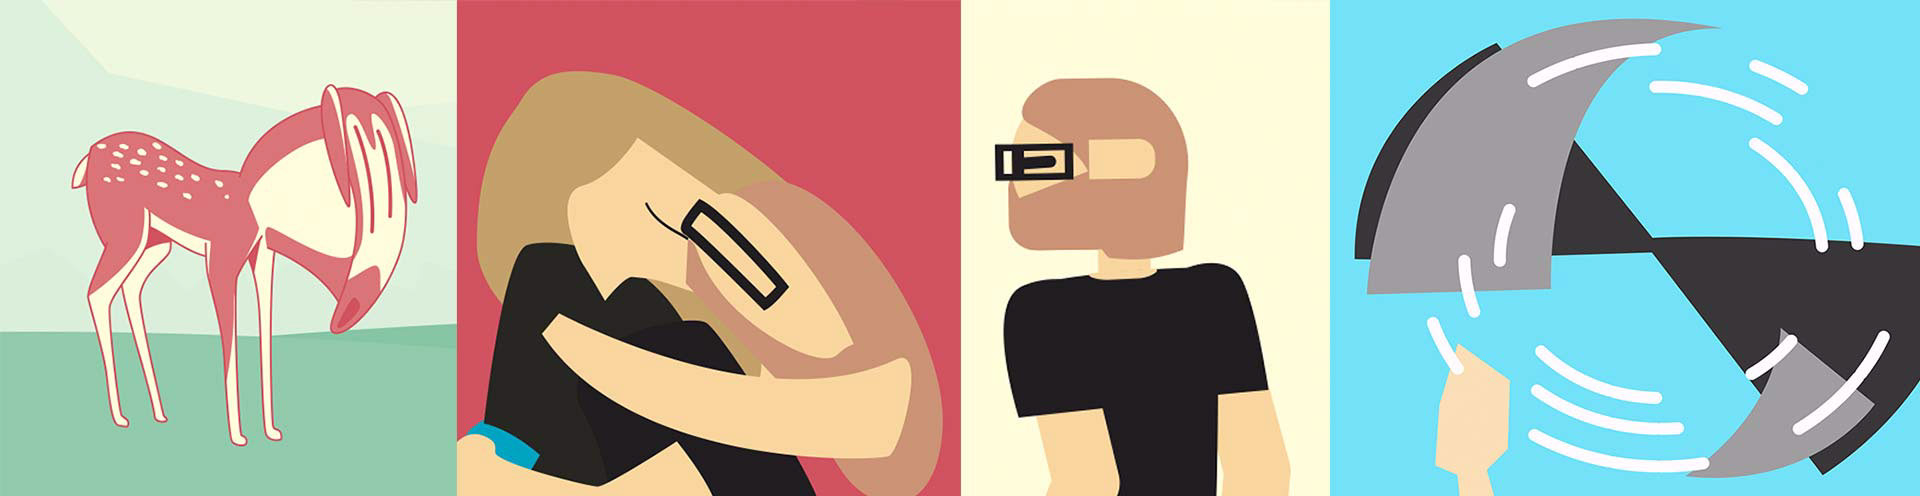
Character limbs were rigged with RubberHose 2 and faces were built and organized in Illustrator then moved to Ae with Overlord.
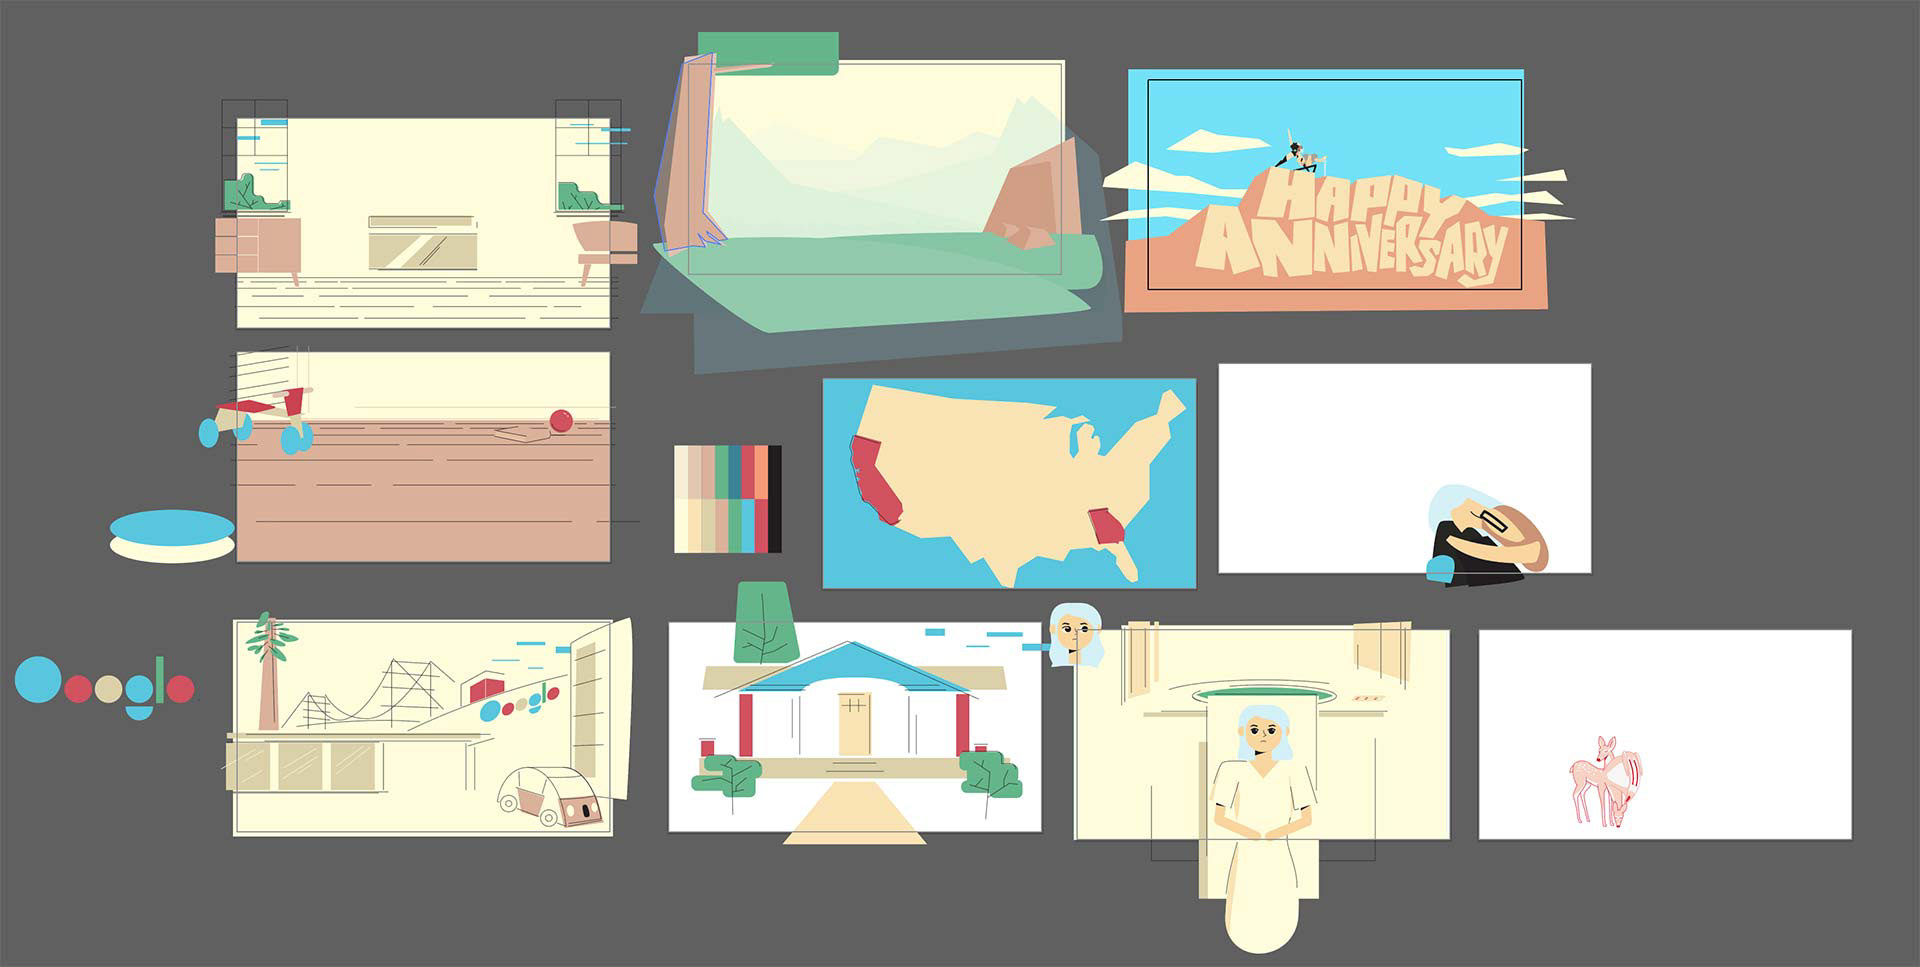
Most of my work is pretty sparse when it comes to backgrounds. This story is mainly about 2 people but the change in setting plays a big part of it, so I pushed myself to actually draw backgrounds. The illustration was slow and ongoing through animation so Overlord played a major part in the workflow. Several color palettes were tested quickly and flexibly with the integration between Ray Dynamic Color.
Yes. I did actually put my kid on a Roomba one time. It did not make Ashley very happy.

RubberHose is a 2D rigging tool that draws bendy lines based on the comp position of controllers, but it is possible to move the controllers around in 3D space. This adds a level of complexity but can be appropriate for certain shots. For this, the ends of each hose were rotated in 3D around a center point. The bend direction of the arms and legs and was adjusted manually along with a trim paths for the top of the legs. Old fashioned matting and layering was used for the body and arm overlap.
The Roomba and seat were created with shape layers linked with expressions. The size of one ellipse drove the size of all of them to create the perspective change, and one slider on each to define the height.
This probably isn't the best way to animate hair but I started with the top wave, created 3 loops of different lengths to create an irregular rhythm, then drew in the bottom wave to follow the top. The path keyframes are looped with this expression. Note: the expression must be disabled to edit the path.
if (numKeys > 1 && time > key(numKeys).time) {
t1 = key(1).time;
t2 = key(numKeys).time;
span = t2 - t1;
delta = time - t2;
t = delta % span;
valueAtTime(t1 + t)
} else { value; }
t1 = key(1).time;
t2 = key(numKeys).time;
span = t2 - t1;
delta = time - t2;
t = delta % span;
valueAtTime(t1 + t)
} else { value; }
Smearing between frames is my favorite cheat to save time and keep quick moves snappy. I will always smear if I have a chance to smear.
While not the most overwhelming use of frame-by-frame animation, the hand holding shot didn't really make sense as a rig. A rough pencil outline was used as a guide for the movement and overlap of the shape layers that made up the fingers.